Makelangelo Belt Tensioner
Makelangelo is a wall hanging, mural drawing machine. There is a motor on the top left and top right of the wall, and belts hang down from there to the pen. Tension caused by gravity keeps the belt on the pulley.
To draw on the entire wall you need a belt long enough for the pen to reach the bottom corners, going diagonally across the drawing area. That means if the pen were to be in the middle and drop all the way to the bottom it would hit the floor.
Problem
When the machine tries to find home by touching limit switches, the pen holder hits the floor as described. Gravity stops, tension is lost, and the machine becomes confused.
Solution
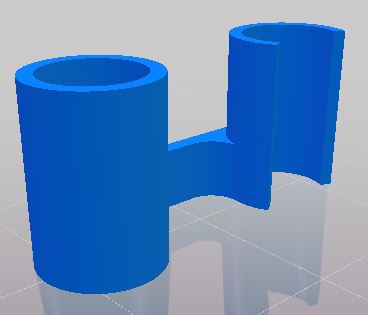
This 3D printed tensioner fits a roller skate bearing (8x22x7) and holds the bearing against the belt, gently pinching it against the pulley. This prevents skipping and allows large machines to find home.
This has an added bonus of letting the machine accelerate faster without skipping.
Print two (one for each bearing) and then fit them onto the two corners and enjoy!
Download the part from Thingiverse here: https://www.thingiverse.com/thing:3895310


