Makelangelo update for World Maker Faire 2014
World Maker Faire New York 2014 is coming and I’m so excited! To celebrate I’m releasing this update that should make your M3 sooo much more awesome. It’s

Do you read our forums? I post super secret stealth updates there that are only for the brave, the strong, the handsome, and the dedicated. eg you. After months of working with agents around the world, I’m pleased to have major new features ready for a wider audience. Makelangelo update #70 is a big one, ladies and gents.
M3 acceleration
I’ve added acceleration to Makelangelo 3. Ever seen a car burn rubber before moving? If the old Makelangelo software tried to go too fast it would make mistakes in the same way. If you update your M3 firmware with this new version the robot will know how to ease the gas pedal to get faster speeds more often for faster drawing. This will also radically change the machine song. My previous top speed was 5000 steps/min and now I can draw well at 7800 steps/min. Spiral drawings that used to take 45 minutes now get done in SIXTEEN. That’s almost 300% faster!
Other firmwares
AMS1 and AMS2 firmwares have been merged. You have to change the MOTHERBOARD value at the top of the file based on your settings. the AMS boards are NOT able to accelerate.
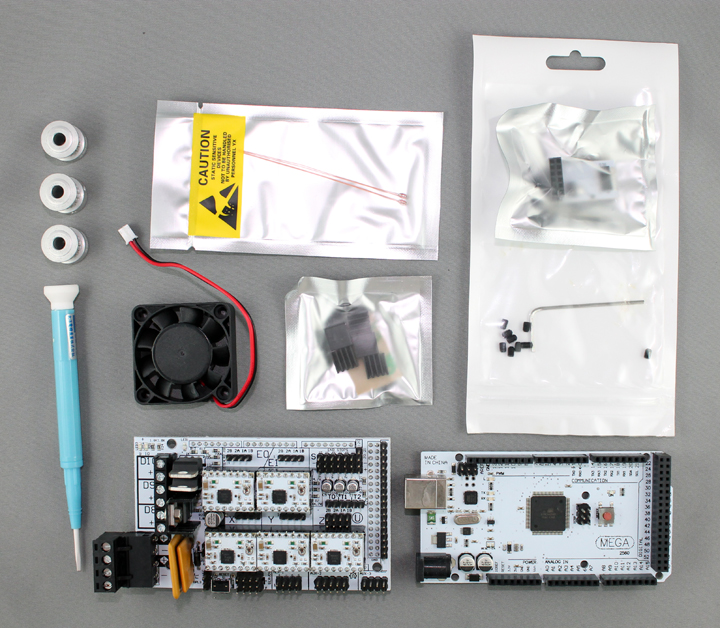
Makelangelo_rumba firmware unofficially also supports Mega + RAMPS configurations now, for those of you who want to source your own parts. Same idea, change the MOTHERBOARD value at the top of configuration.h to set the board you’re using. Mega + RAMPS will support acceleration.
Control software
Etch-a-sketch drawing has been redesigned and the layout has been flipped to better accommodate the tall/narrow design of most machines. Will you be the first to make an Instructable about it?
Enough already, gimme!
I’m also interested to know at what kinds of speeds you can draw well with your M3. In the GUI command line you can type “G0 A[number]” to change the acceleration, and “M114” will now display your acceleration. I’ve reached top speeds of over 9000 (yes, you read that right) but I haven’t played enough to get good quality drawings with those kinds of speeds.
Maker Faire New York 2014
I have free passes to Maker Faire New York to anyone who can bring their Makelangelo on Saturday, September 20, or Sunday, September 21 to the New York Hall of Science. Tweet a picture of your robot drawing something to @MarginallyC and I’ll pick winners on Friday, September 5th. DIY kits you built yourself are eligible. Bonus points for mods, clever hacks, and anyone helping spread the word.


