Spot Micro
Spot Micro Assembly
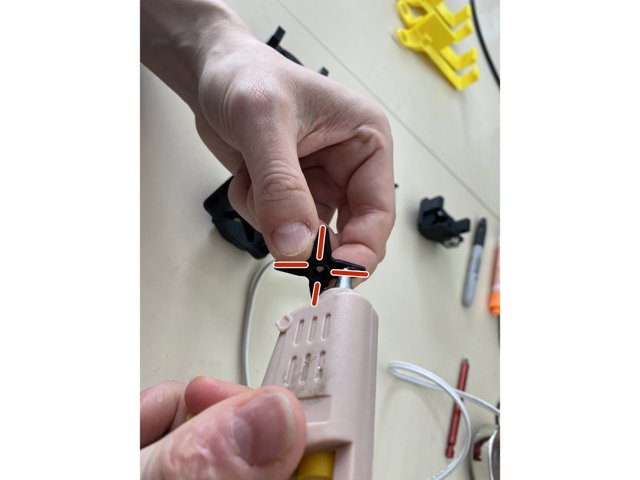
Step 1 Hot Glue Shoulders 1: Faster, faster!
Click the large image to open full size.
I tried the OP's recommended method with instant contact cement. It was not fun and didn't hold. Glue gun did the trick.
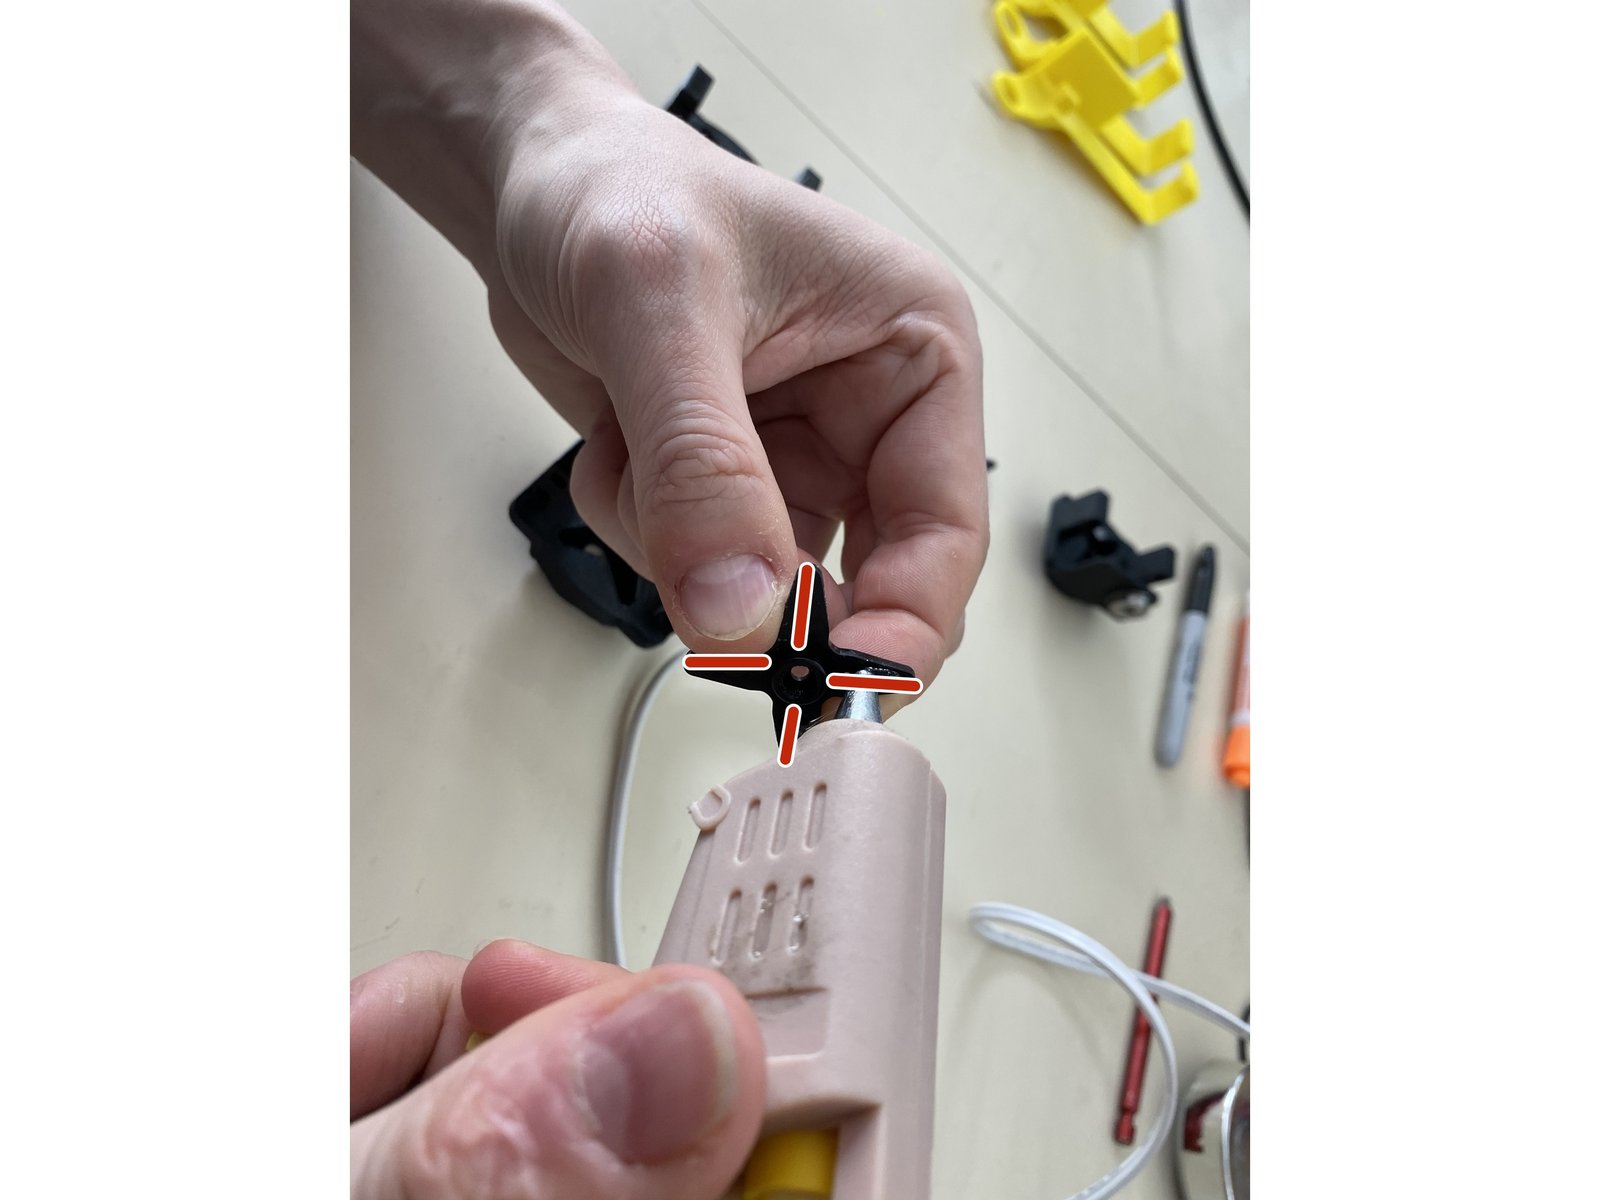
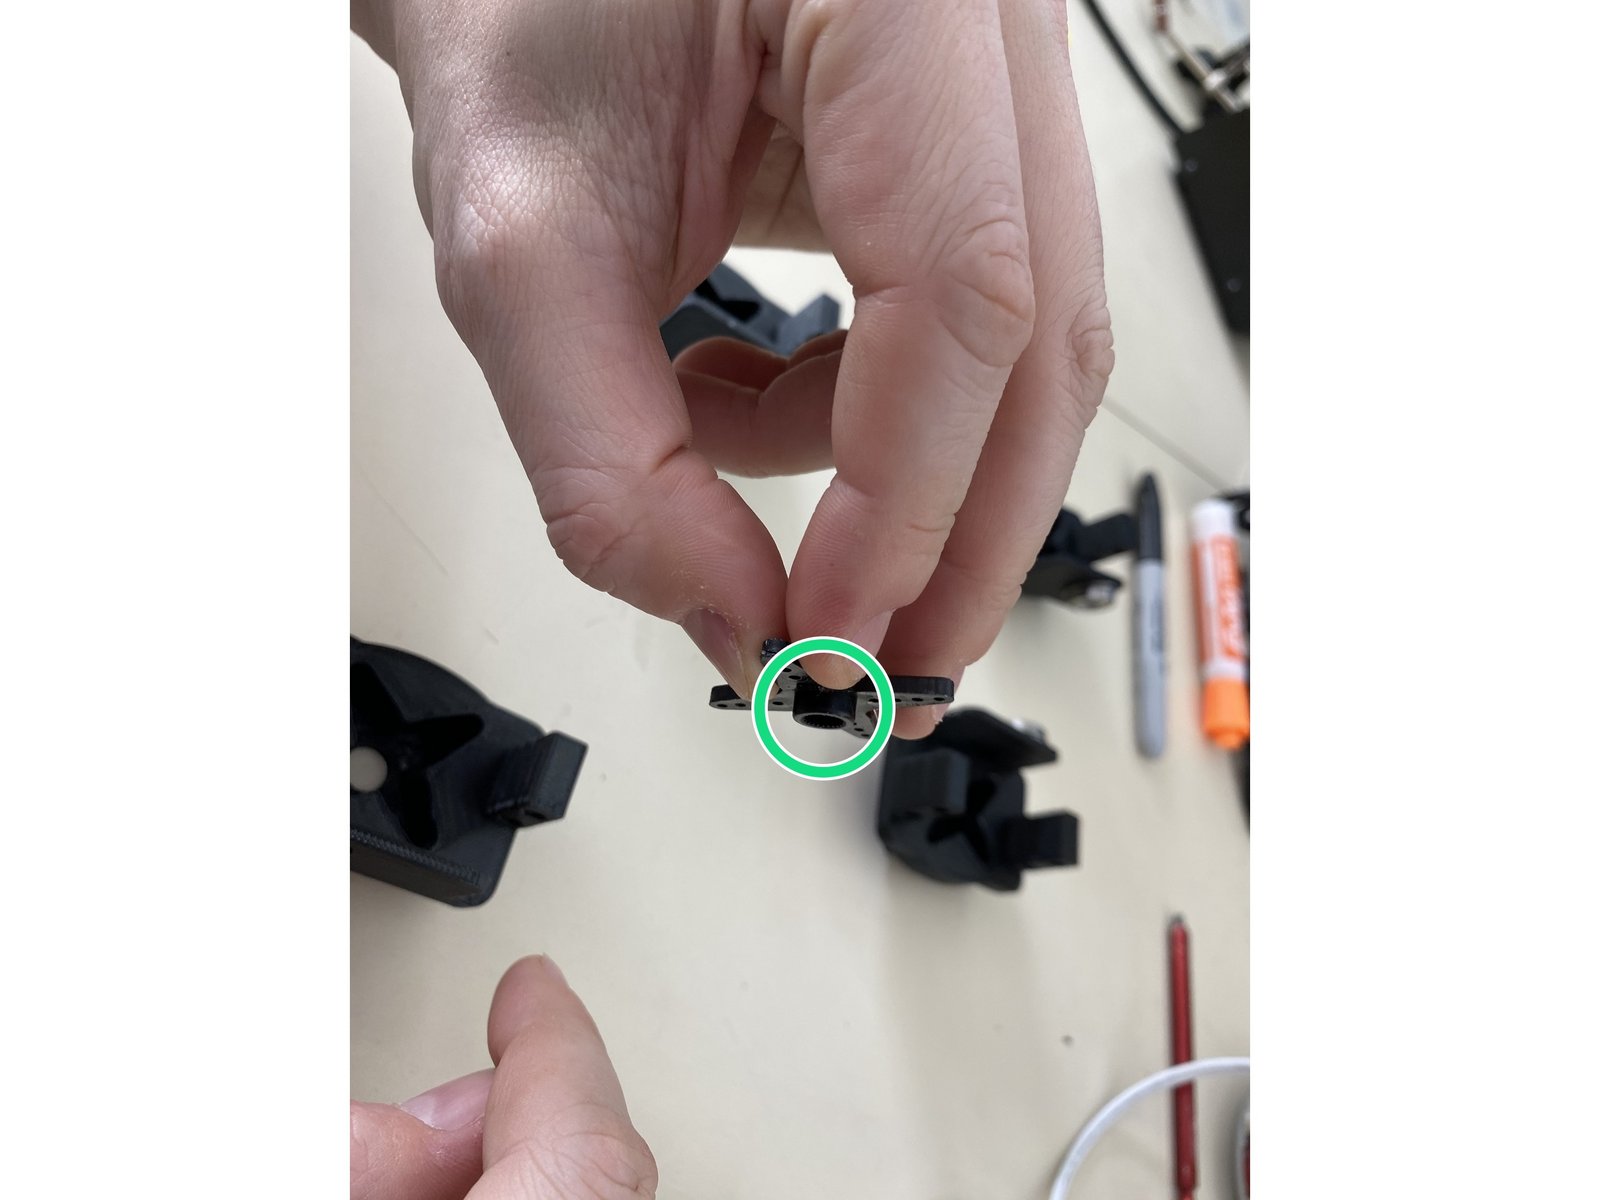
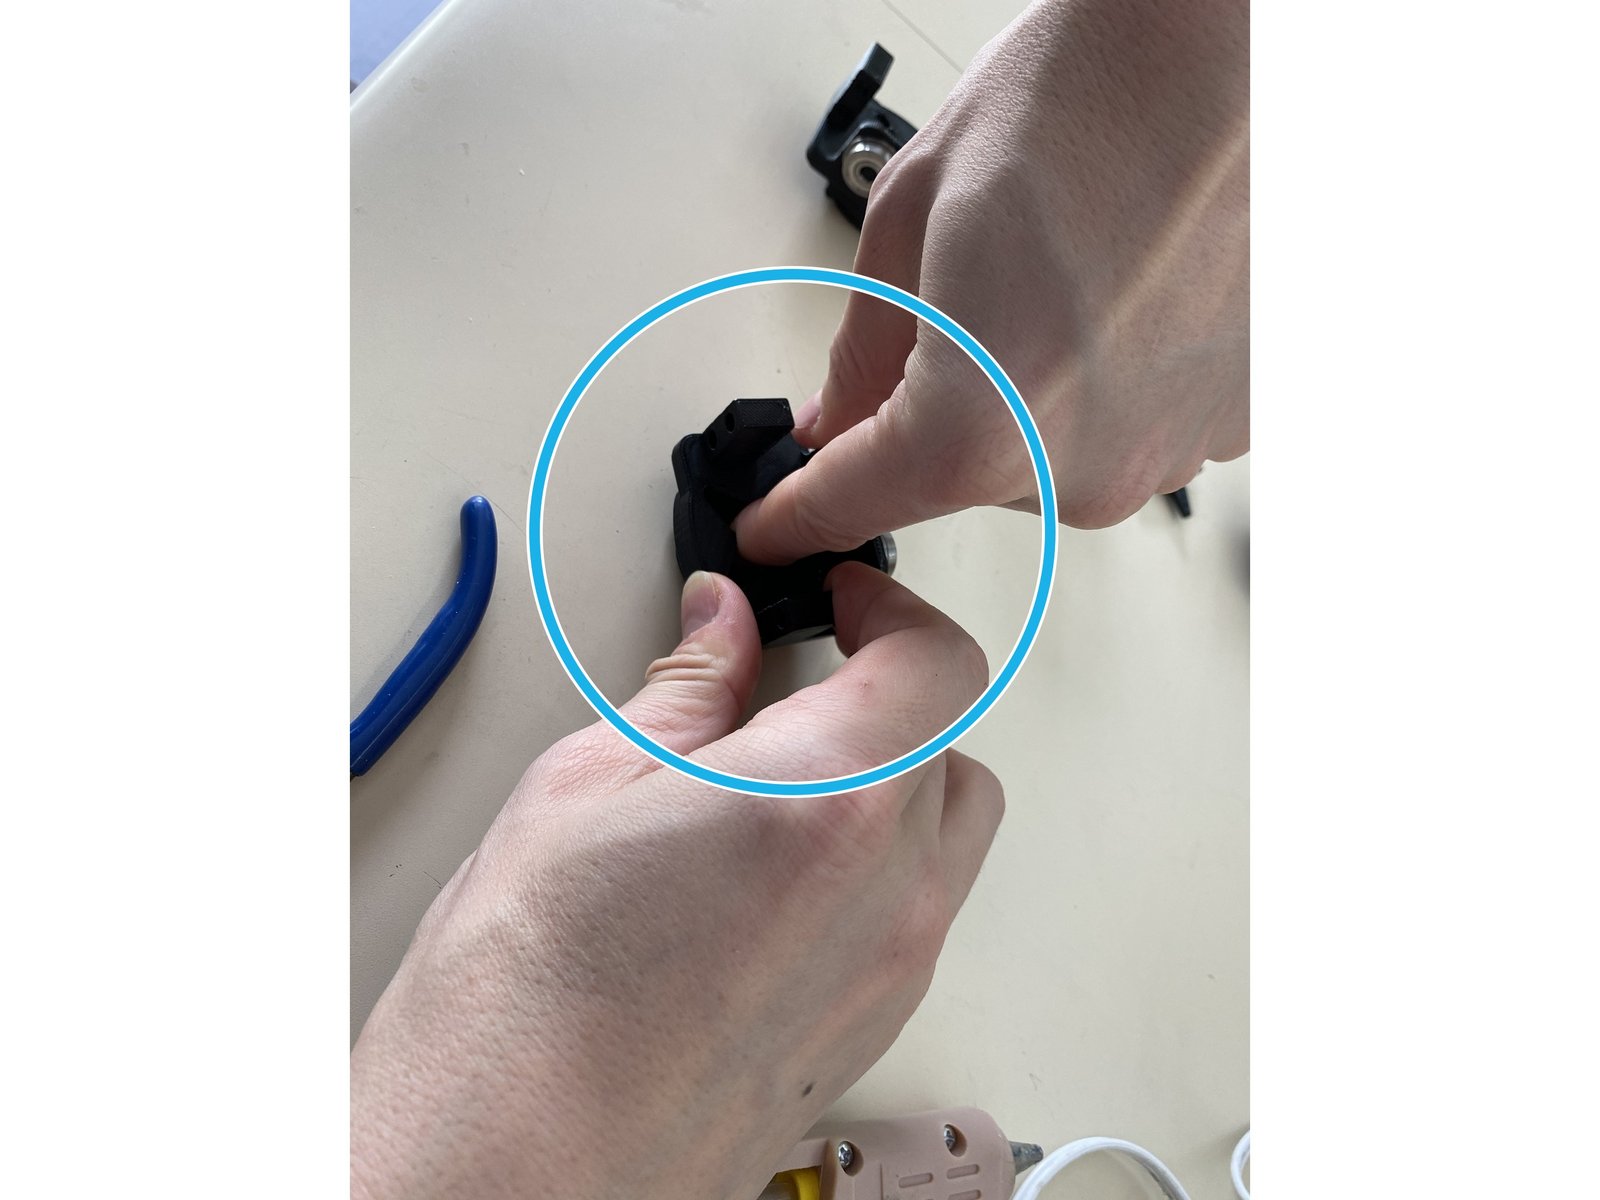
My way is to (quickly) put hot glue on the CORRECT side of the servo horn and then squish it into the shoulder joint while it's still liquid.
Note the correct side. if the bumps is hidden by your fingers you're going to have a bad time.
KA-SMOOSH. Remember you have to go fast while the glue is still hot and tacky!
Step 2 Hot Glue Shoulders 2: Electric Boogaloo
Click the large image to open full size.
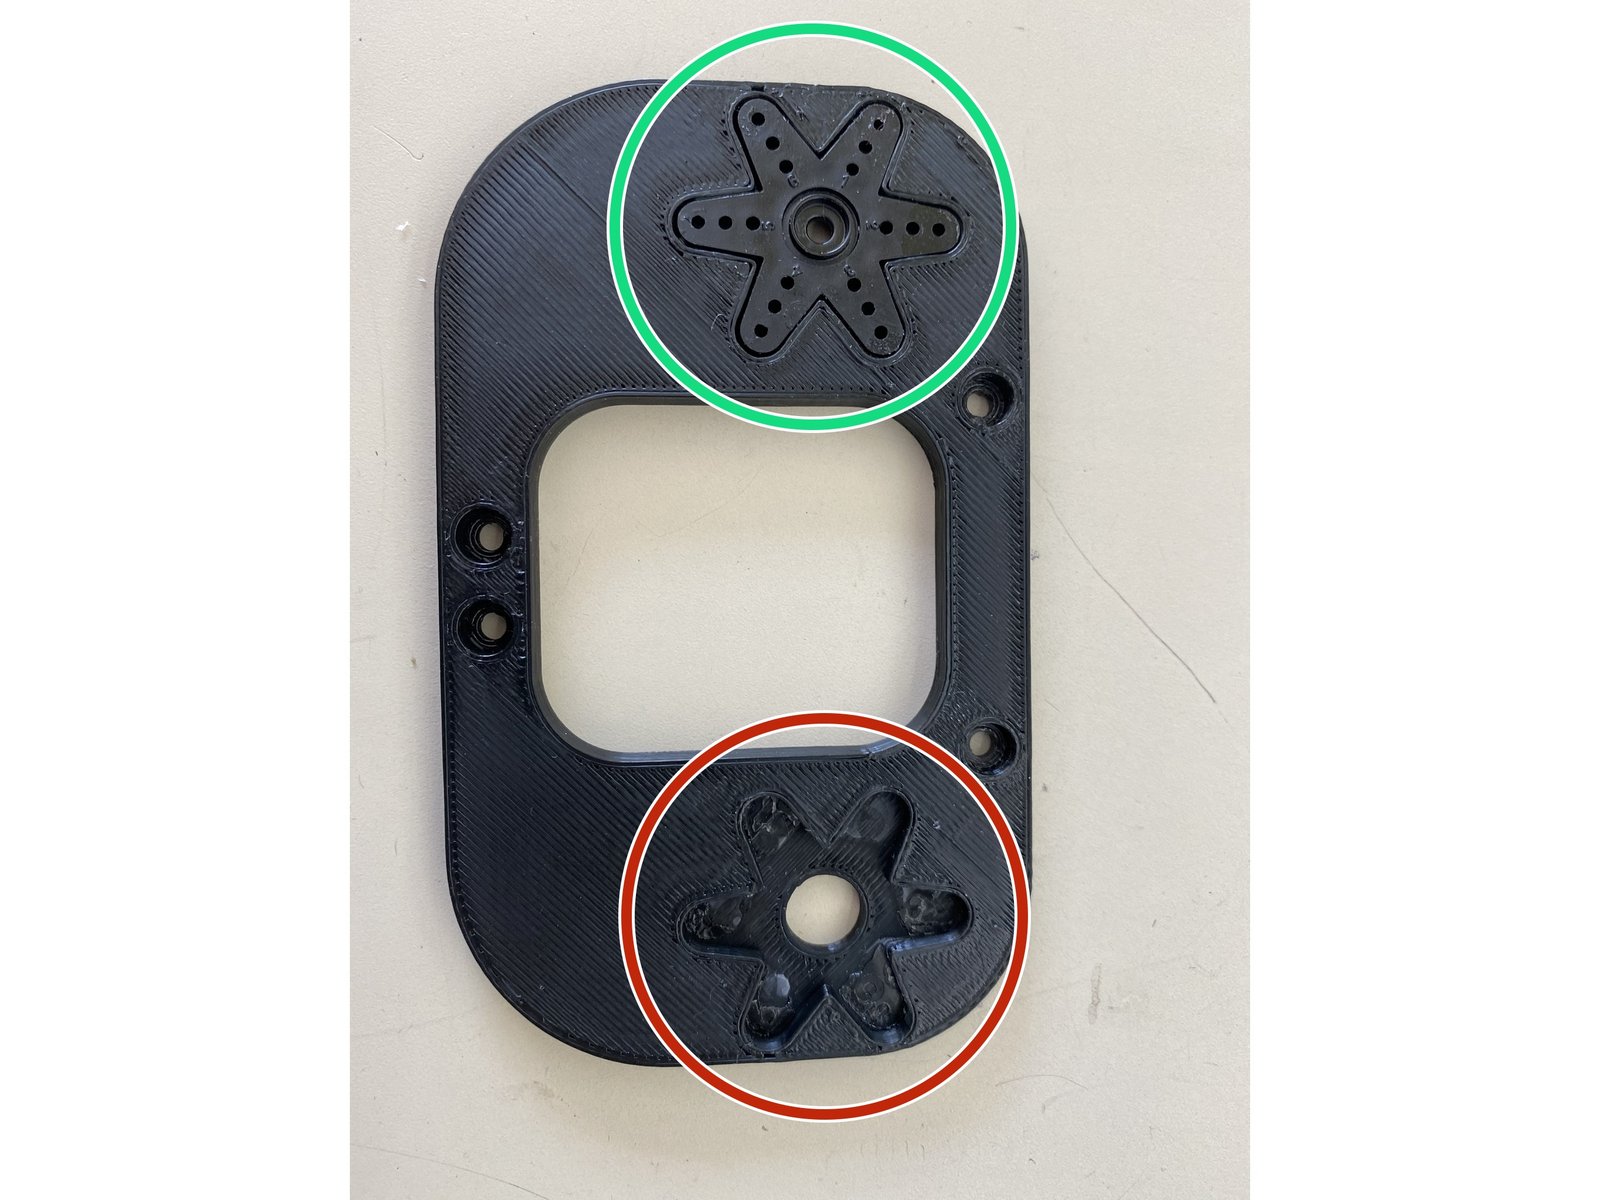
Glue was not correctly applied and part fell out - aka shoulder dislocated.
Glue was spread evenly across the entire interior without blocking the center hole. It held longer but still not great.
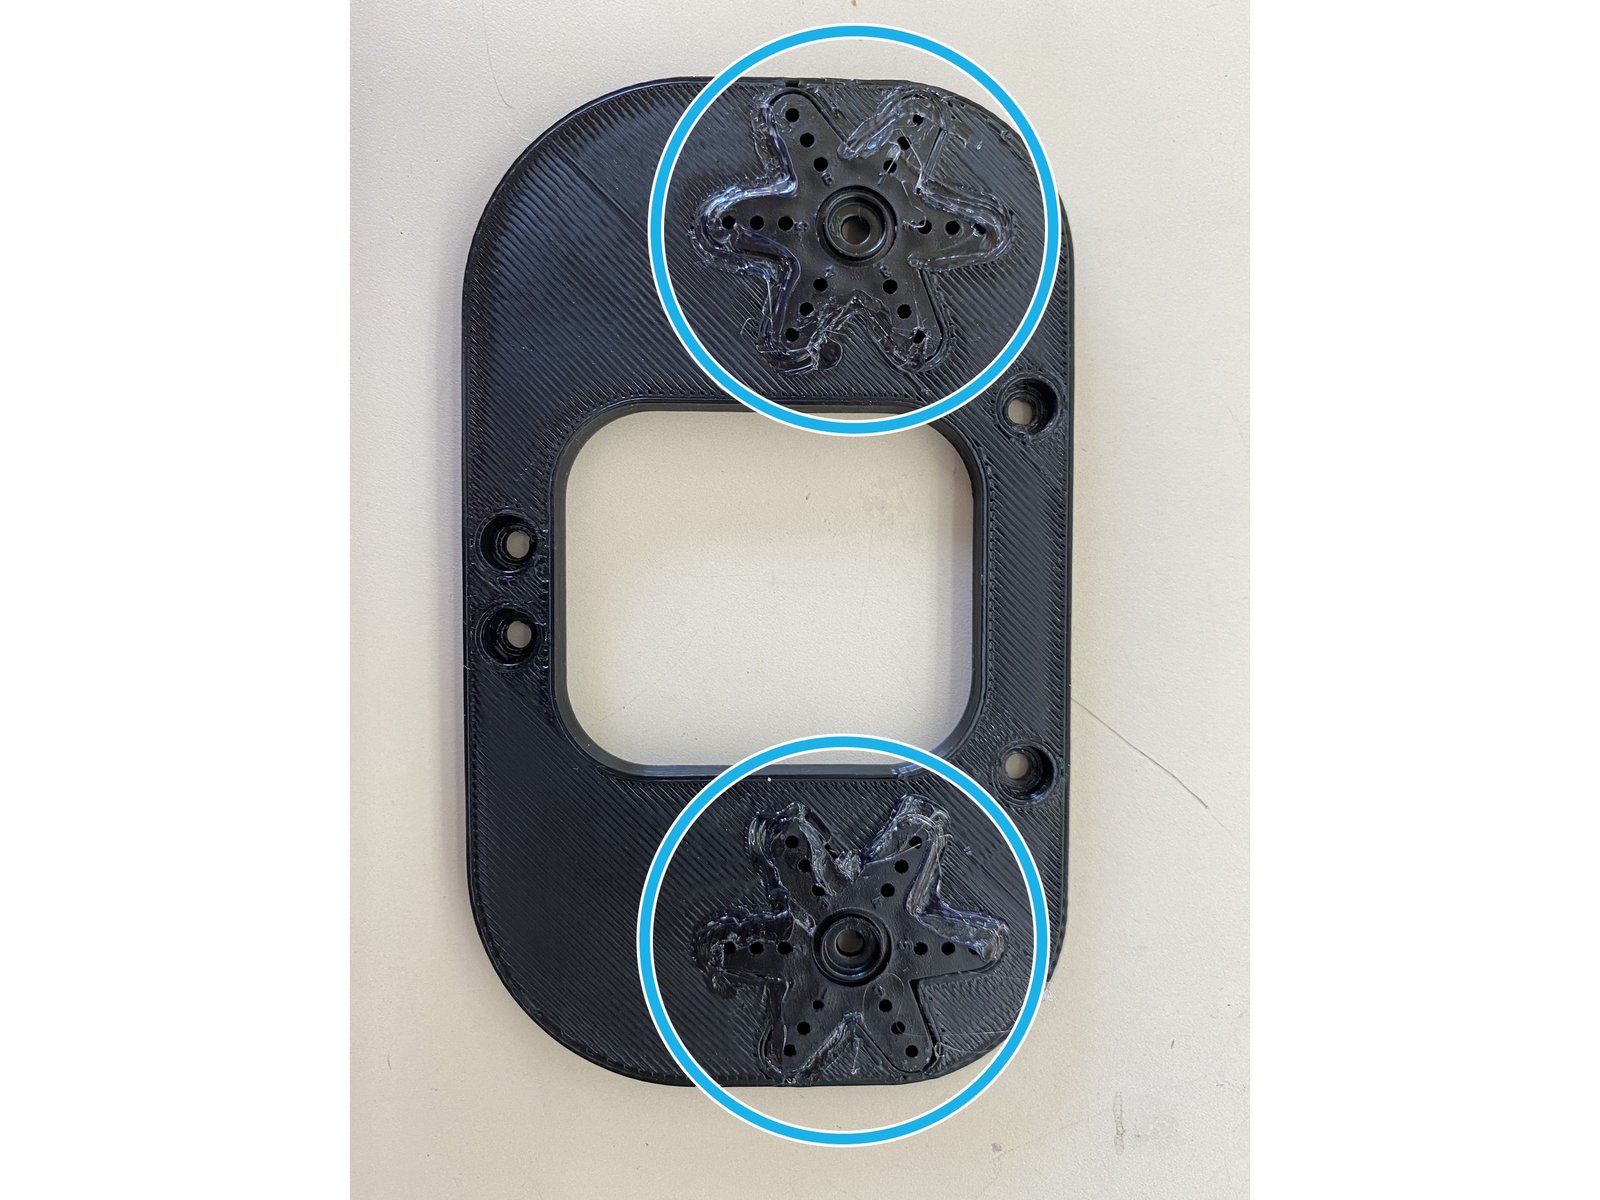
not only did i put some glue under each servo horn, I then went back and filled in the gaps to make sure it would stay. More surface area means more hold!
Step 3 Servos in Shoulders
Click the large image to open full size.
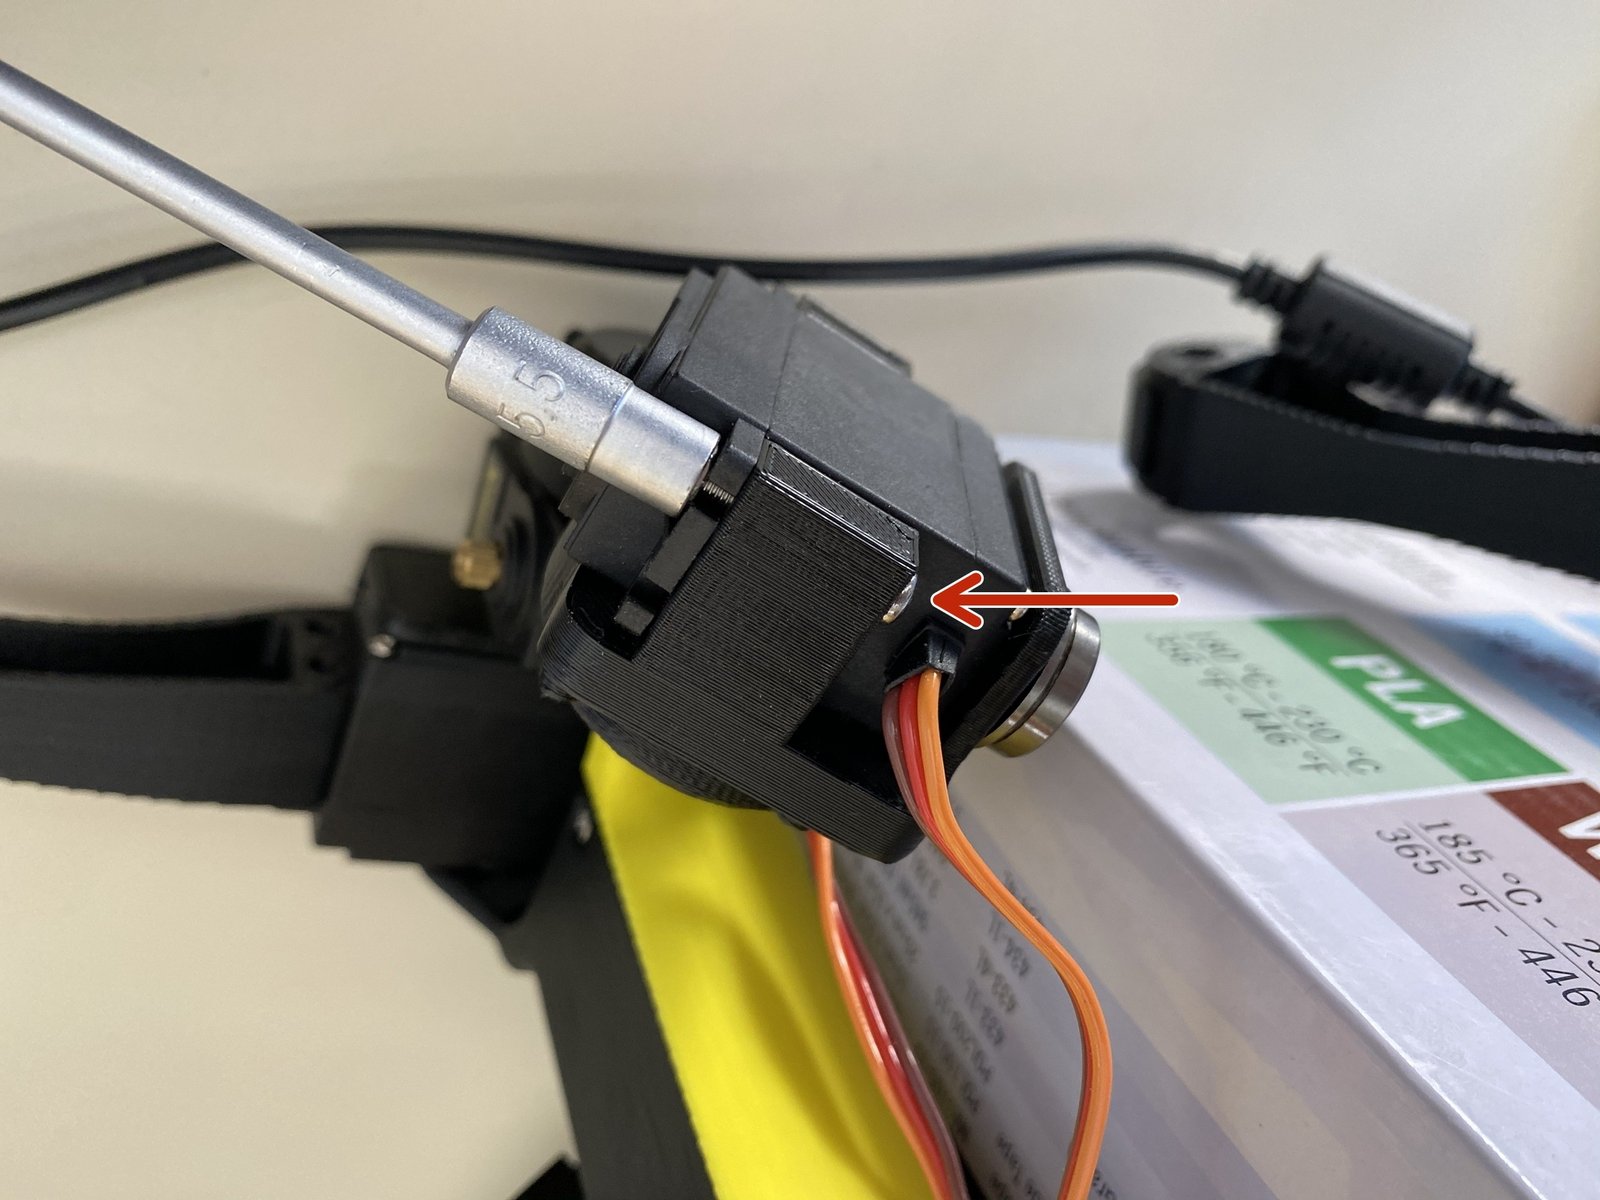
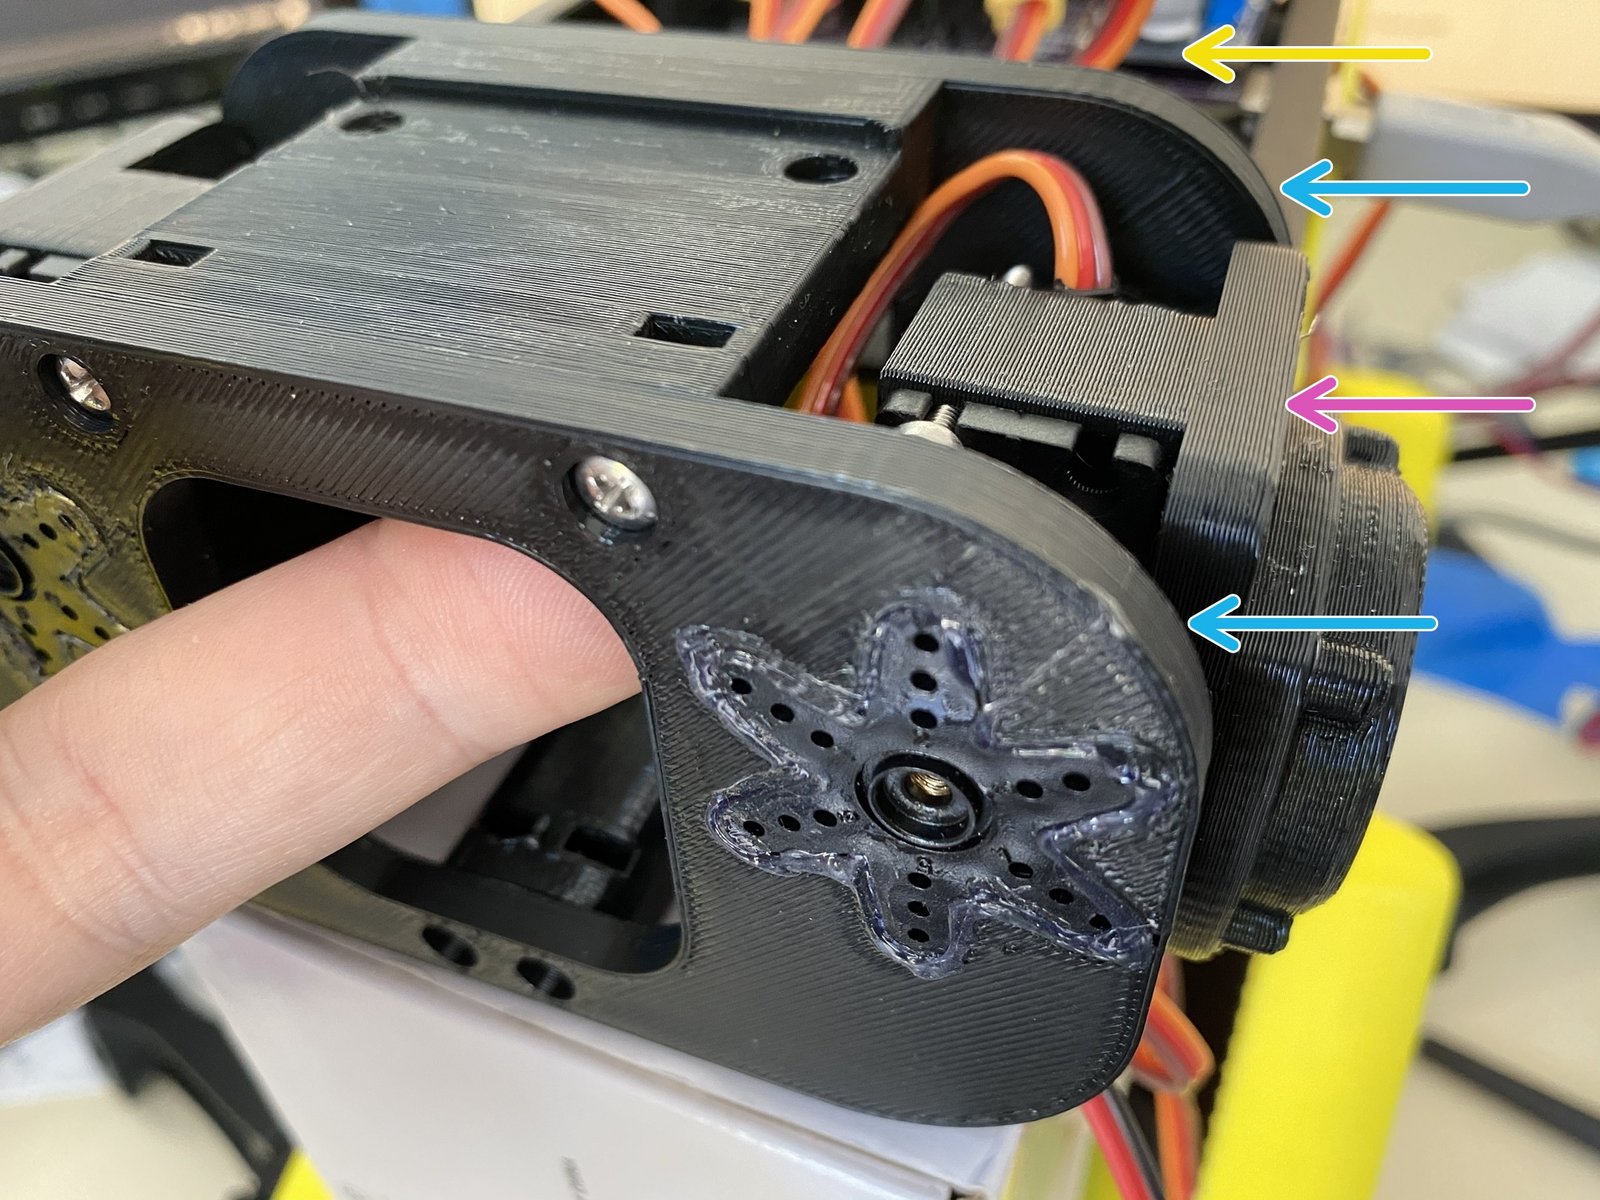
I used one M3x25 screw and nut for each servo and a socket driver to put them together. If you put the screw in the other way around the wire gets in the way of your tool.
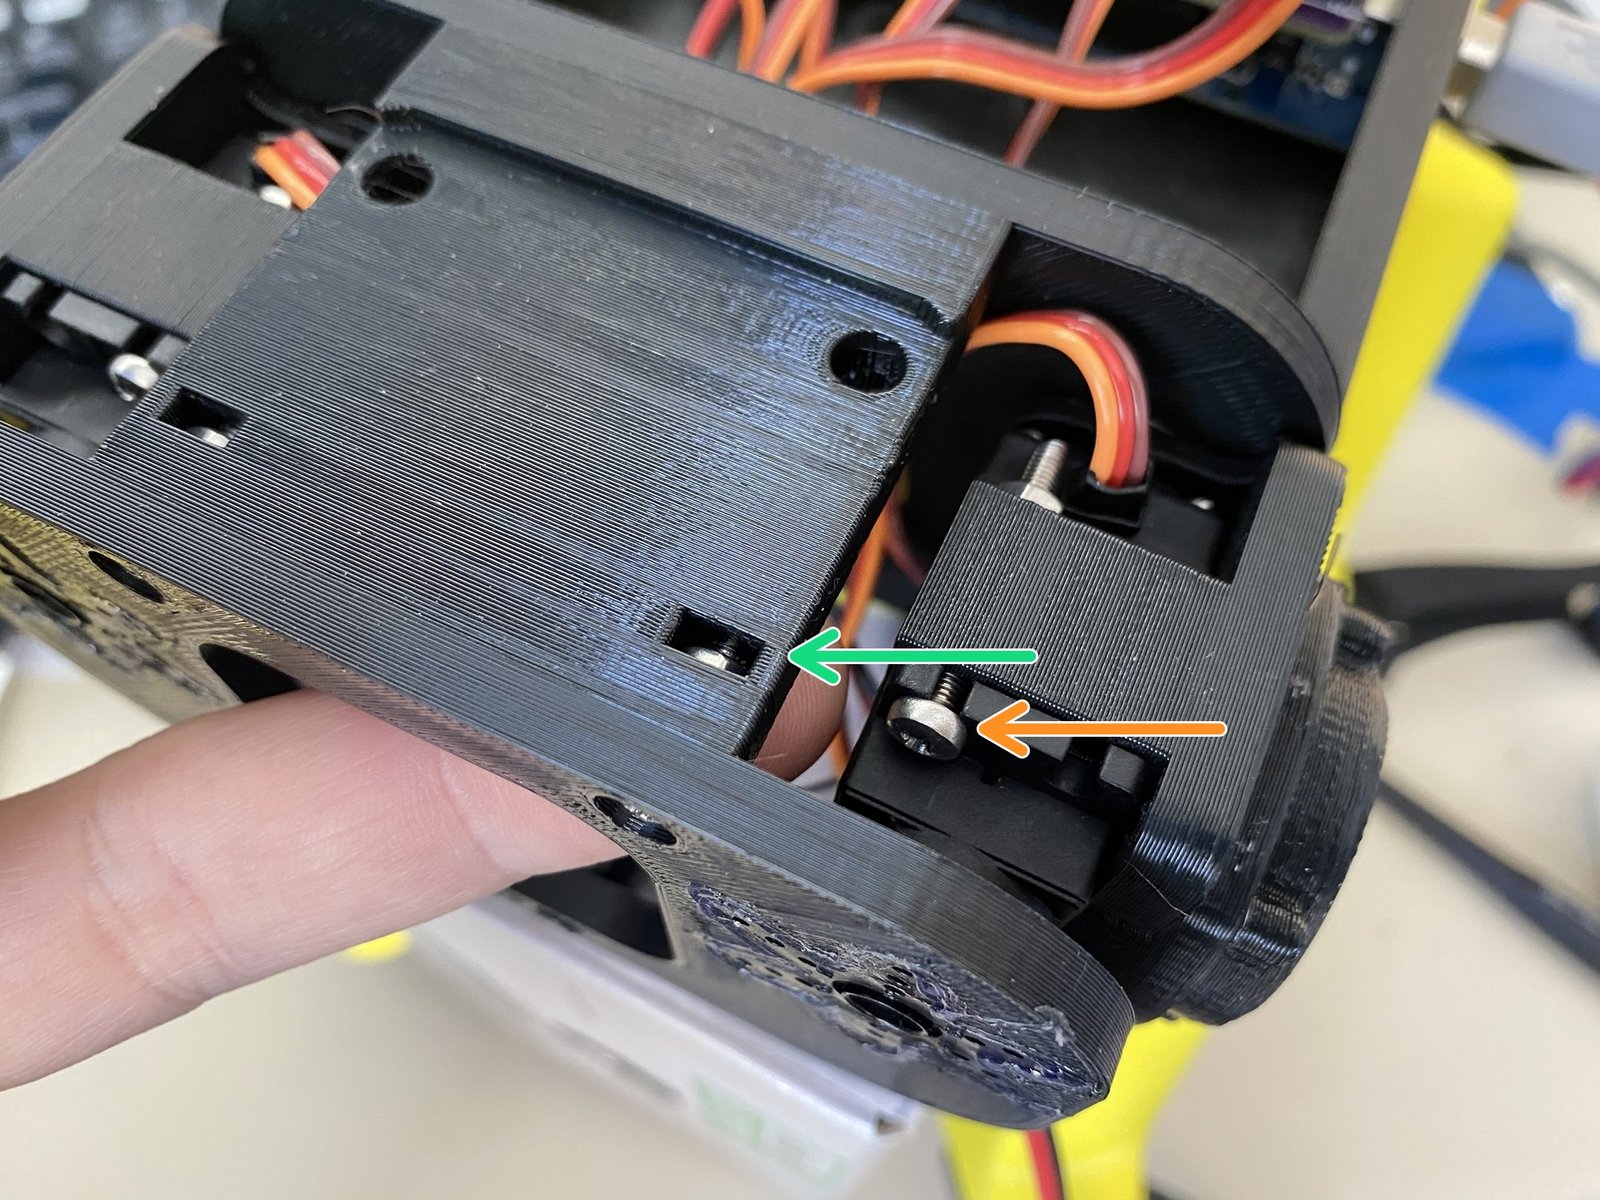
A finger under this edge makes it easy to keep the nut in place. If you're low on hands, try a piece of masking tape.
The screw on these shoulders are backward because I figured out the better way late in the game and didn't redo the ones that were already working.
Notice how the shoulder is parallel to the body. It's easier to install both shoulders...
...into the front piece while it lays flat on a table...
...then install the front piece on the torso.
Step 4 Front and Back
Click the large image to open full size.
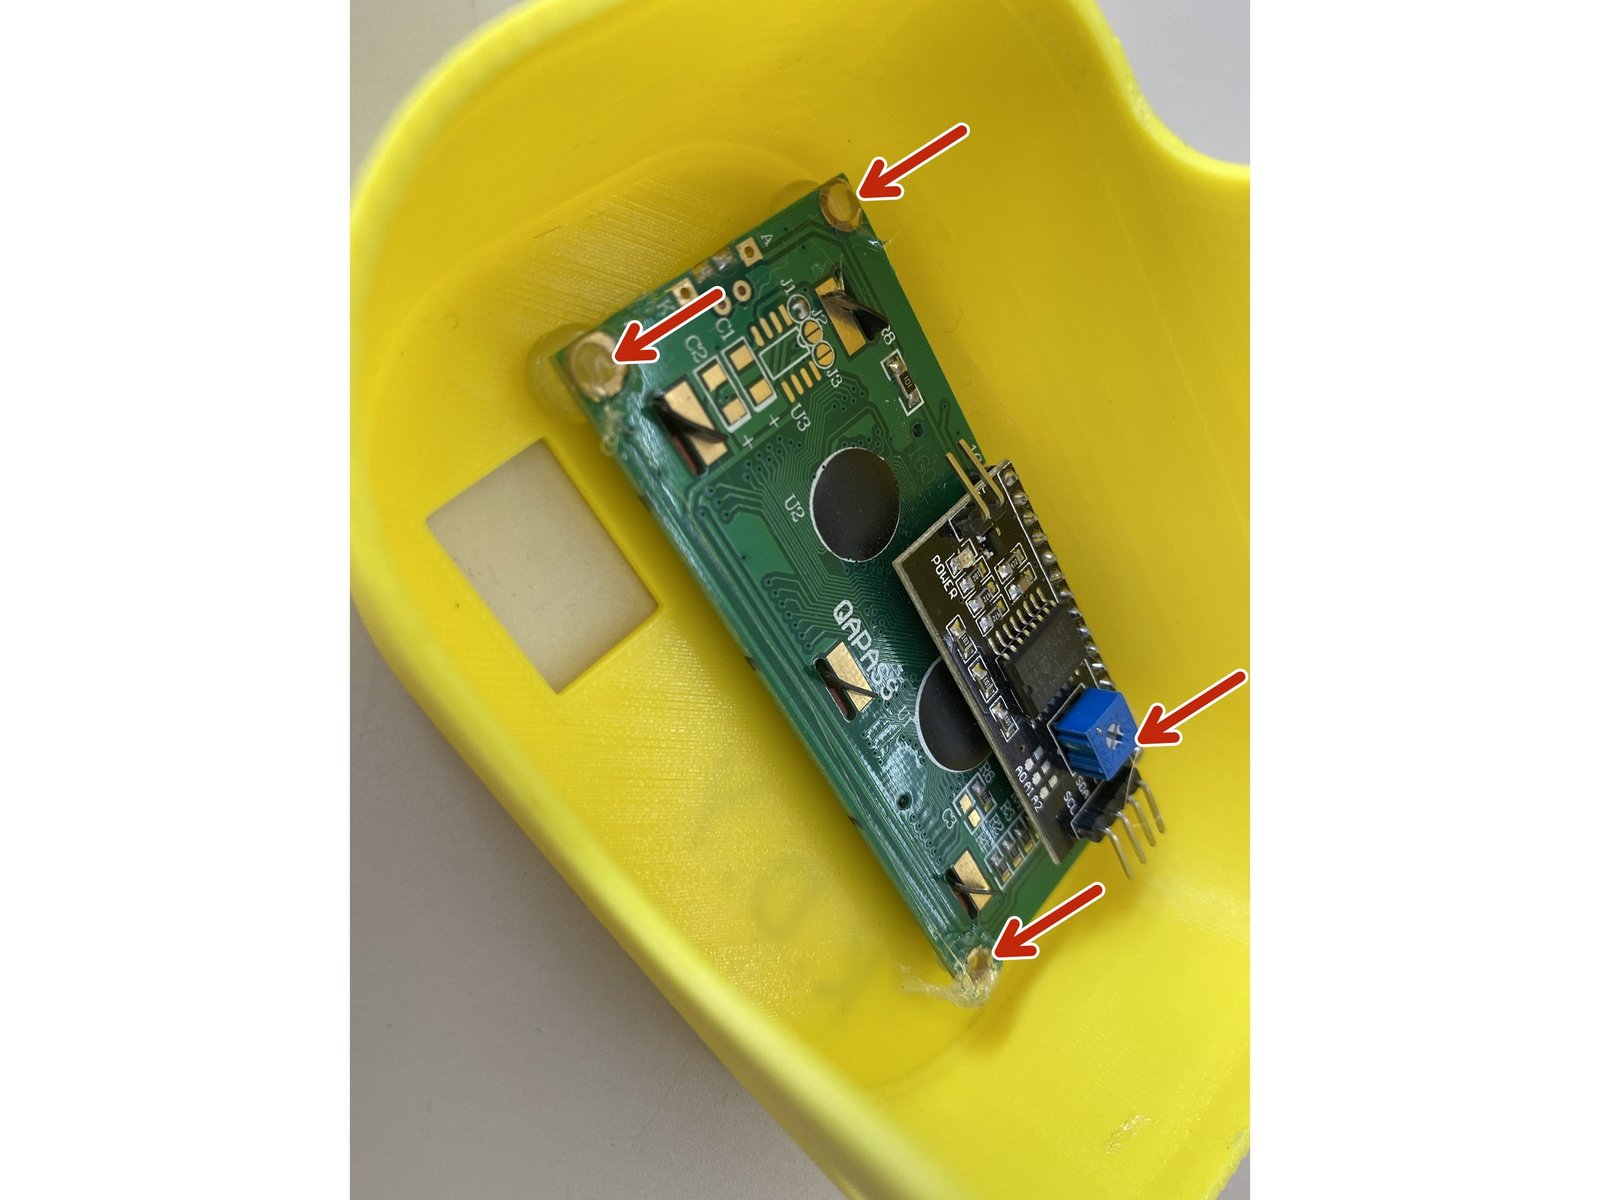
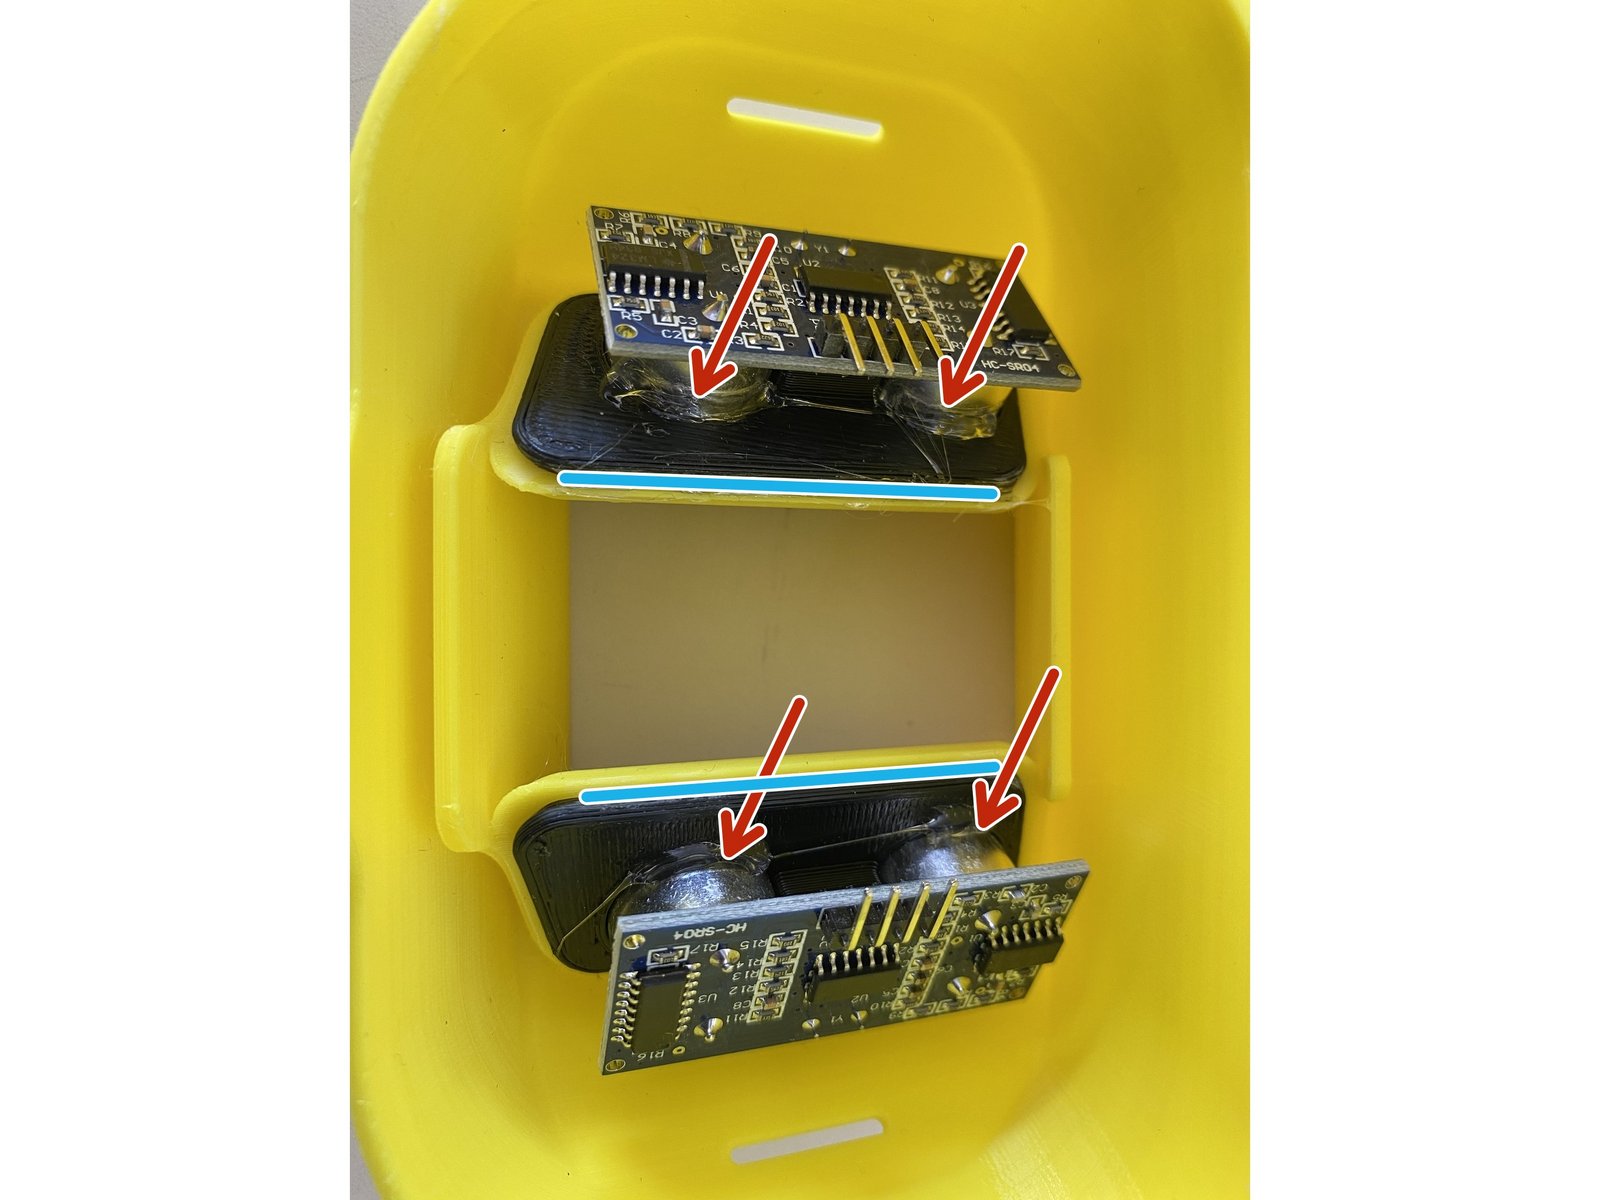
It was easier to glue this in since I already had hot glue on hand. Normally I never use glue of any kind.
All the way around these edges, then quickly pressed in while still soft.